The Design Cubicle presents a tutorial on How to create interactive PDF forms using Adobe Acrobat Pro. It’s authored by Brian Hoff, see the full article at the link to read the entire tutorial.
If you’re like me then you like everything from your website down to your legal contracts to look well designed and function to your client’s liking — which in most cases is… easily! The problem with creating forms and other documentation for a client to fill out is most are created in Microsoft Word, or other form of word processors, because we’re afraid the client won’t have the right software to open, add to it and return it.
In doing so, the design is compromised because of word processor’s inability to function like professional design software. While MS Word is typically found on most computers and regarded as the most compatible document to send someone to fill out and return, that doesn’t mean you can’t have your cake (aka “good design capabilities”) and eat it too (aka “compatibility).
Adobe Acrobat Professional to the rescue!
Adobe Acrobat Professional gives you the ability to turn your previously designed, standard PDF file into an interactive form that clients can download, easily fill out, print or effortlessly return to you by email. All they need is the free Adobe Acrobat Reader, which can be download here. And most clients I’ve spoke with already have it installed. Here’s how you can create your own interactive PDF:
Create your document
First, design your documentation or form in the software of your choice. InDesign is my first choice of page layout programs, but feel free pick your own…
Once you’re completely satisfied with the design, save it as a PDF.
Open it in Acrobat Pro
From the top toolbar, choose File > Create PDF > From File… Then, choose the PDF file you created above and click Open.
You should now see your beautifully designed PDF open in Acrobat Pro with a toolbar that looks similar to the highlighted image above. This toolbar is where you provide interactivity to your static PDF.
Adding Interactivity
Select the Text Field Tool (pictured below):
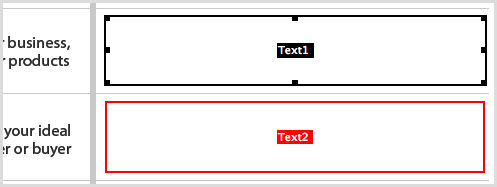
Drag out boxed areas on your PDF where you would like the client to add their information. NOTE: Acrobat can also use its auto-detection feature to assign text box areas to predetermined underlined areas.
After each box you create, a dialog box will appear that allows you to customize the text field area. Below you can see my changes, but feel free to customize to your liking.
Adding the ‘Submit’ Button
Now that you have your text areas specified, it’s time to add a ‘submit’ button so your clients can easily email you back the completed form.
…..


